Azure VM Explorer
Introduction
This application allow to explore Virtual machine of your
azure subscription. The application is using Azure active directory to
authenticate user.
This sample demonstrates:
- · The use of ADAL for JavaScript for securing an AngularJS based application.
- · The use of Azure REST API for fetching subscription information.
- · Perform operation on Azure VM’s .
Technology Used
- · Angular JS
- · Azure Subscription
- · azure-active directory-library-for-js: Active Directory Authentication Library for JavaScript (ADAL JS) helps you to use Azure AD for handling authentication in your applications . Refer
Step By Step:
Step 1: Register the sample with your Azure Active Directory tenant
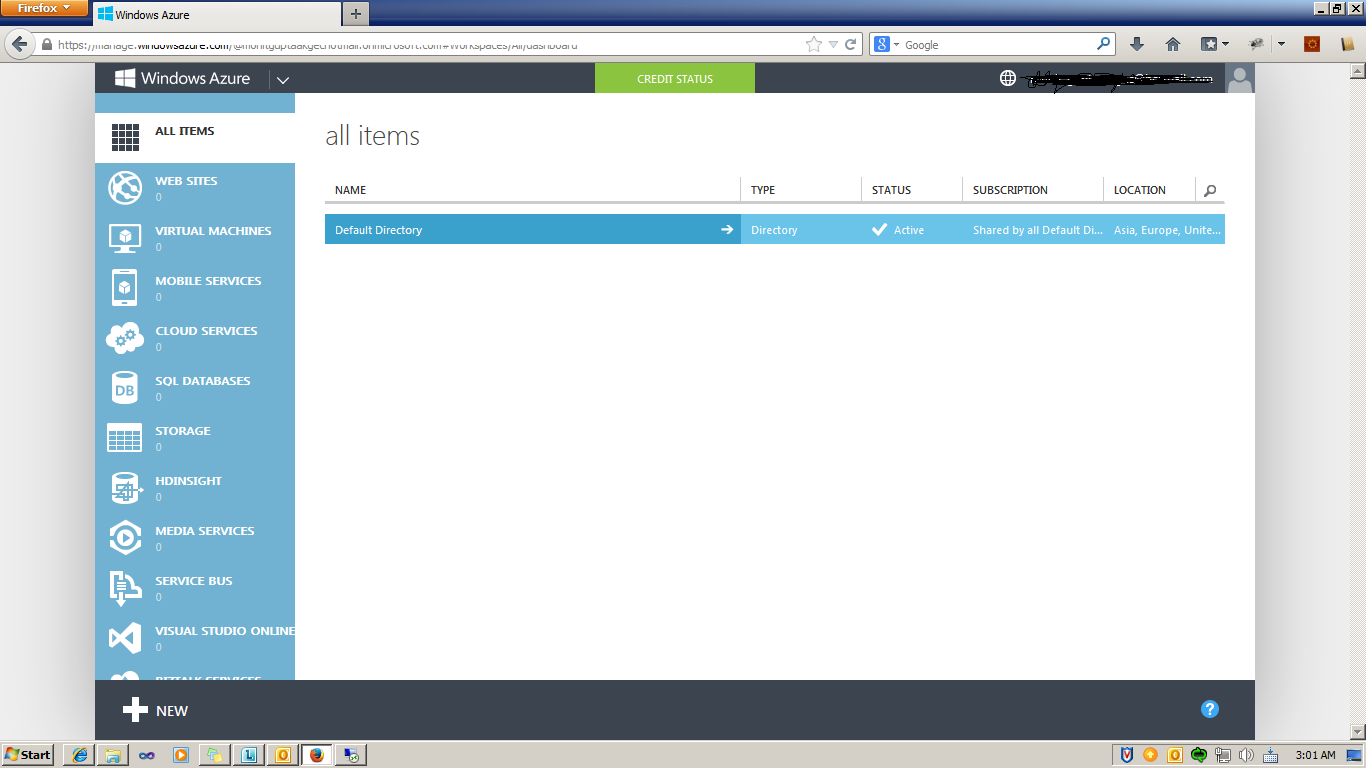
- Sign in to the Azure management portal.
- Click on Active Directory in the left hand nav.
- Click the directory tenant where you wish to register the sample application.
- Click the Applications tab.
- In the drawer, click Add.
- Click "Add an application my organization is developing".
- Enter a friendly name for the application, for example "Azure VM Explorer app", select "Web Application and/or Web API", and click next.
- For the sign-on URL, enter the base URL for the sample, which is by default https://localhost:44326/.
- For the App ID URI, enter https ://<your_tenant_name>/ Azure VM Explorer app, replacing <your_tenant_name> with the name of your Azure AD tenant.
All done!
Before moving on to the next step, you need to find the Client ID of your
application.
- While still in the Azure portal, click the Configure tab of your application.
- Find the Client ID value and copy it to the clipboard.
Step 2: Enable the OAuth2 implicit grant for your application
By default,
applications provisioned in Azure AD are not enabled to use the OAuth2 implicit
grant. In order to run this sample, you need to explicitly opt in.
- From the former steps, your browser should still be on the Azure management portal - and specifically, displaying the Configure tab of your application's entry.
- Using the Manage Manifest button in the drawer, download the manifest file for the application and save it to disk.
- Open the manifest file with a text editor. Search for the oauth2AllowImplicitFlow property. You will find that it is set to false; change it to true and save the file.
- Using the Manage Manifest button, upload the updated manifest file. Save the configuration of the app.
Step 3: Create angular JS application for Azure Virtual Machine explore
Include references to angular.js libraries, adal.js,
adal-angular.js in your main app page.
Include a reference to adal module
angular.module('AzureApp', ['ngRoute','AdalAngular'])
Step 4: Initialize adal with the AAD Client Id and Tenant id .
instance: 'https://login.microsoftonline.com/',
tenant: < Your Tenant Id: XXXXXXXXXXXXhotmail.onmicrosoft.com > ',
clientId: 'Your Client Id : XXXXXXX-XXXXXXXXX,
extraQueryParameter: 'nux=1',
loginResource: 'https://management.azure.com/' //to set AUDIENCE
//cacheLocation: 'localStorage', // enable this for IE, as sessionStorage does not work for localhost.
},
$httpProvider
);
Step 5: Create MasterController for your Angular application
angular.module('AzureApp').controller('MasterController', ['$scope', 'adalAuthenticationService', '$location', function($scope, adalService, $location) {
var subscriptionId = ‘Azure Subscription Id ';
$scope.ErrorMessage = '';
$scope.VMList = [];
$scope.login = function() {
adalService.login();
$scope.$apply();
};
$scope.logout = function() {
adalService.logOut();
$scope.$apply();
};
$scope.ListAllVM = function() {
$scope.VMList = [];
var resource = adalService.getResourceForEndpoint('https://management.azure.com/');
var tokenStored = adalService.getCachedToken(resource);
$.ajax({
url: 'https://management.azure.com/subscriptions/' + subscriptionId + '/resources?api-version=2015-11-01',
type: 'GET',
success: function(data) {
// $scope.VMList = data.value;
$scope.$apply(function() {
angular.forEach(data.value, function(value) {
if (value.type == 'Microsoft.ClassicCompute/virtualMachines') {
//$scope.VMList.push(value);
$scope.GetVMInfo(value);
}
});
});
//do something to data
},
beforeSend: function(xhr) {
xhr.setRequestHeader('Authorization', "Bearer " + tokenStored);
},
error: function(rcvData) {
$scope.$apply(function() {
console.log(rcvData.responseText);
$scope.ErrorMessage = eval("(" + rcvData.responseText + ")");
console.log($scope.ErrorMessage.error.message)
});
}
});
};
$scope.VMOperation = function(vm, Operation) {
console.log(vm);
var resource = adalService.getResourceForEndpoint('https://management.azure.com/');
//var tokenStored = authService.getCachedToken(resource);
var tokenStored = adalService.getCachedToken(resource);
var _URL = 'https://management.azure.com/' + vm.id + '/' + Operation + '?api-version=2016-04-01';
var _TYPE = 'POST';
if (Operation == 'Delete') {
var _URL = 'https://management.azure.com/' + vm.id + '?api-version=2016-04-01';
var _TYPE = 'DELETE';
} else {
var _URL = 'https://management.azure.com/' + vm.id + '/' + Operation + '?api-version=2016-04-01';
var _TYPE = 'POST';
}
$.ajax({
url: _URL,
type: _TYPE,
beforeSend: function(xhr) {
xhr.setRequestHeader('Authorization', "Bearer " + tokenStored);
},
error: function(rcvData) {
$scope.$apply(function() {
console.log(rcvData.responseText);
$scope.ErrorMessage = eval("(" + rcvData.responseText + ")");
console.log($scope.ErrorMessage.message)
});
},
success: function(data) {
$scope.$apply(function() {
$scope.ErrorMessage = 'VM Operation Success';
});
}
});
};
// Get VM Information
//START
$scope.GetVMInfo = function(vm) {
var resource = adalService.getResourceForEndpoint('https://management.azure.com/');
//var tokenStored = authService.getCachedToken(resource);
var tokenStored = adalService.getCachedToken(resource);
var _URL = 'https://management.azure.com/' + vm.id + '?api-version=2016-04-01';
var _TYPE = 'GET';
$.ajax({
url: _URL,
type: _TYPE,
beforeSend: function(xhr) {
xhr.setRequestHeader('Authorization', "Bearer " + tokenStored);
},
error: function(rcvData) {
$scope.$apply(function() {
console.log(rcvData.responseText);
$scope.ErrorMessage = eval("(" + rcvData.responseText + ")");
console.log($scope.ErrorMessage.error.message)
});
},
success: function(data) {
$scope.$apply(function() {
vm.status = data.properties.instanceView.status;
$scope.VMList.push(vm);
});
}
});
};
}]);
Step 6: Create View for your Angular App.


<div ng-init="ListAllVM()">
<div
class="alert alert-danger" ng-show="ErrorMessage">
{{ErrorMessage.message}}
{{ErrorMessage.error.message}}
</div>
<div
class="panel">
<table
class="table table-striped table-bordered table-hover">
<thead>
<tr>
<th>Name</th>
<th>Location</th>
<th>Status</th>
</tr>
</thead>
<tbody>
<tr data-ng-repeat="item in VMList">
<td>
<a href="#" ng-click="GetVMInfo(item)">
<p>
{{item.name}}</p>
<a/>
</td>
<td>
<p>
{{item.location}}</p>
</td>
<td>
<p>
{{item.status}}</p>
</td>
<td>
<a
href="#/VMList" ng-disabled="{{item.status !=
'StoppedDeallocated'}}" class="form-control">
<i
class="fa fa-play fa-fw"
ng-click="VMOperation(item,'start')"></i>
</a>
</td>
<td>
<a
href="#/VMList" ng-disabled="{{item.status !=
'ReadyRole'}}" ng-click="VMOperation(item,'powerOff')"
class="form-control">
<i class="fa
fa-stop fa-fw"></i>
<a/>
</td>
<td>
<a
href="#/VMList" ng-disabled=""
ng-click="VMOperation(item,'restart')"
class="form-control">
<i
class="fa fa-refresh fa-fw"></i>
<a/>
</td>
<td>
<a
href="#/VMList" ng-disabled=""
ng-click="VMOperation(item,'deallocate')"
class="form-control">
<i
class="fa fa-stop fa-fw"></i>(Deallocate)
<a/>
</td>
<td>
<a
href="#/VMList" ng-click="VMOperation(item,'Delete')"
class="form-control">
<i class="fa fa-remove fa-fw"></i>
<a/>
</td>
</tr>
</tbody>
</table>
</div>
</div>
Code
Please download source code from location .